Showing posts with label Air Brush. Show all posts

Wednesday, April 20, 2016

Wraithlord Complete

Finally finished my wraithlord.  I have always loved this model, and love the poseability of it.  I magnetized the guns, so I can switch them out.  I am glad the sword is worthwhile again.


And with his other wraith buddies.  


Tuesday, March 1, 2016

Joe's Alpha Legion painting tutorial

Alpha legion Tutorial.
My good friend Joe has been working on his Alpha Legion.  He has been kind enough to send a very thorough recipe for his take on the alpha legion.

Here's how he does it:

1: Prime Black; as little as needed to get full coverage
2: Airbrush Base with a 50/50 mix of Vallejo Gunmetal/chainmail.
3: Airbrush top of model with Vallejo Silver.
4: Airbrush two coats of 75/25 of Tamiya Clear Blue/Clear Green.
5: Airbrush the flat panels Tamiya Clear Blue from the midpoint down; blend so the strongest blue is at the bottom
6: Repeat #5 with Clear Green, from the midpoint up.
7: Using an extremely thinned Vallejo Silver with a hint of Lothern Blue (like 1:15-20; enough to make the paint appear "off"), airbrush the top of the shoulders, pack, and helmet. Less is more here.
8: Using thinned Tamiya Clear Blue, brush over the highlighted armor sections and blend into the non-highlight areas.
9: Take Guilliman Blue glaze, and drag it down the model so it covers the recesses; this is a glaze and shade at once. I break up excessive pools and cover any overly thin areas. DO NOT WET GLAZE UNTIL YOU GET THE PROPER BLUE. This will result in a model that is too dark. Do a single coat, let it dry. Patience is the key.

Pick out your metal bits in the silver of your choice, nuln oil, and highlight. I use a striking motion to gain a weathered effect.

Finally, remember that the Alpha Legion uses non-standard markings. I show individual tactical squads via backpack coloration, specialists via helmet markings, and rank structure via stripes and shoulder coloration.

For the Emperor!

 I love this saboteur model.


Friday, January 29, 2016

Storm Wolf WIP

 WIP Storm Wolf.  still needs a lot of work.  Need to tone down the streaks.

Thursday, January 28, 2016

Lukas and Harald

With winter hitting, I got the itch to start wolves again.  Here are some WIP pics of Lukas and Harald.
For airbrushing, I use a grey primer, then airbrush with vallejo intermediate blue, making sure to get all the under surfaces covers. Then after it dries, I prime grey again, in a top-down spray, leaving the dark blue on the lower parts.  Then I airbrush a custom mix of light blue, grey and true blue.  It mixes well with the grey primer to get the blue of my wolves.  Too much airbrushing this color on, ruins the mix.
 After airbrushing, I drybrushed with Enchanted Blue (now Caledor Sky)
 Flesh and Hair.
 For the runes, I left the blue in the rune, and dry brushed the grey over.  Then finished patching up the grey.


 For my gold, I start with tin bitz, then dry brush gehenna's gold, then Auric armor gold.

They both still need some work.

Tuesday, September 22, 2015

Eldar Air force

Finished a Void Raven Bomber and three crimson hunters for an apoc game over the weekend.  I am pleased how they came out, although they were a bit rushed.  Love the bomber.


Tuesday, September 15, 2015

Space Wolf Air Force

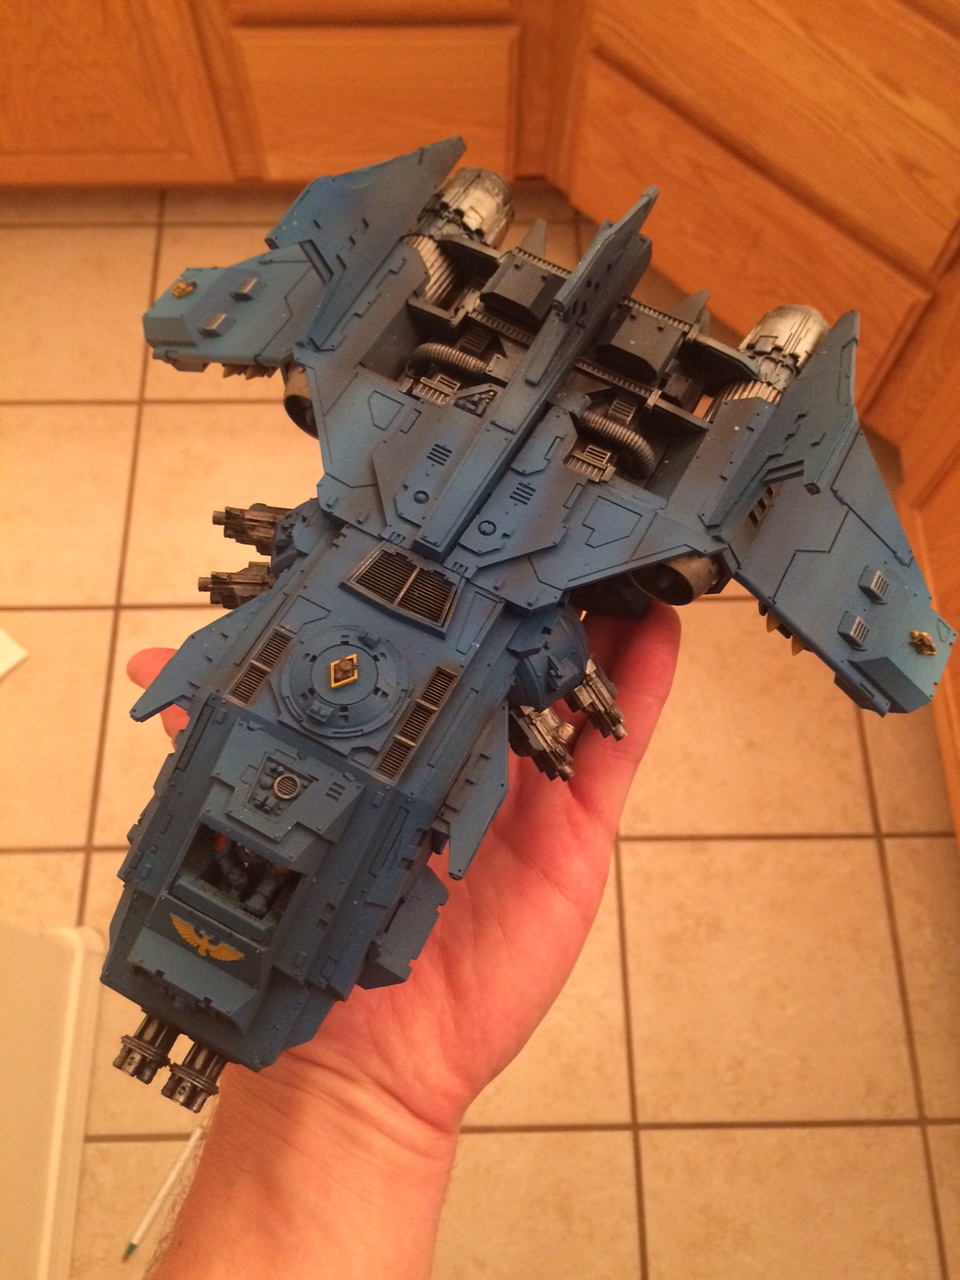
Using the same airbrush layering technique I did on the Xiphon, I painted the Fire Raptor and the Storm Wolf.  I did some black streaking on the top, and then covered it with my space wolf blue.  

Some detailing done.  Engines, guns, wolf bits.

 And the Storm Wolf

Monday, September 14, 2015

Space wolf Xiphon

Here is a Xiphon I am working on for my space wolf army.   I started with a grey primer, and then painted vallejo air intermediate blue into the areas I wanted dark.

Then I painted some streaking with vallejo air light grey.


Then i put my custom space wolf blue on top.

And then some black near the engine ports.  Now just some detailing to do

Saturday, January 11, 2014

Wraith knight progress and mistakes

Here are some pics of the wraith knight. I like how he is coming along, and haven't worked on him for a while.


The sword shows a mistake that happened because I got impatient. I taped up half the sword, airbrushed it, and then let it sit for 15 minutes. Then I took the tape off, and taped off the other half of the sword, taping over the part I painted just 15 minutes earlier. After painting and removing the tape, you can see where the tape took some of the paint off. Should have waited 24 hours or so to ensure the paint had dried before taping over it. 

I have found that Elmer's white glue works wonders for the decal/transfers. I put down a mix of thinned down Elmer's in the spot where I wanted the transfer, soaked the transfer for 30 seconds, put the transfer in place with a paint brush, and then cover the transfer with Elmer's.  Then remove any extra water or Elmer's. The glue helps it stick and gets rid of any shininess and covers the edges of the transfer. 


Wednesday, October 2, 2013

Wraith Knight WIP

 So here is my latest project.  The wraith knight is magnetized at the arms, and has magnets for shoulder mounted weapons.  I also magnetized him at the waist and head for painting and travel.

He is mostly painted with the airbrush.  I wish i had taken more pics of him along the way.  After airbrushing brown over a cream undercoat, i did a heavy washe with seraphim sepia,   Drybrushed with the cream color, and then washed again with sepia.

I also wished I had left his weapons off his arms until after I had painted them with the airbrush.  I painted the arms to completion first, which meant I had to tape off the arms when I airbrushed them blue.  It wasn't the end of the world, but it would have been easier if they weren't glued together.

I still have a lot of painting to go, and work to do on the base.  Stay tuned.


Friday, July 19, 2013

Wraithblade progress, and mistakes

Here are my wraithblades so far.  I have only airbrushed them.  I learned a few things, sometimes less is more, especially with an airbrush.  I tested too many colors on my wraithguard.  Also, airbrushing doesn't work as well on the smaller, all metal figures.  On my wraithlords, i painted them in parts, their main bodies, heads, and back sections were separate. Good thing too, I made a mess of the bodies trying to get them just right. It only got worse and worse.  The wraithlord bodies and old wraithguard will get another paint job.


Contributors