Showing posts with label magnets. Show all posts

Tuesday, February 2, 2016

Storm Wolf Diagonals tutorial

Here's a simple tutorial for adding diagonal patterns on your vehicles.  I started by looking at the GW paint job, and saw that one yellow triangle fit on the corner engine piece, or about 7mm.  I then used a pencil and ruler to draw in the triangles.

 More pencil work.
 Then I started painting the yellow.  I used the yellow base color, Iyanden yellow (now Averland sunset).  The most important thing about painting straight lines is paint consistency.  You want it watery enough to flow well, but thick enough to lay some color down.
 You can see on these pics I magnetized the turret.  That is a piece of thin sheet metal across the hole for the turret.  The magnet is on the underside of the turret.
 Then I went back and added in the black.  I still need to touch up a few spots, but am mostly done.  Pretty straighforward.

Monday, June 17, 2013

Magnetized Wraithguard

So I won a local tourney with the new Eldar Codex, and won these beautiful wraithguard.  With all the options they came with, I couldn't just glue 'em together, so I started figuring out how to magnetize them.  I used 1/8" x 1/32" magnets from kj magnetics.  This shot has most of the important stuff in it.  The right arm you can see, has a magnet that I have trimmed to match the size of his wrist.  The magnet was just larger than his wrist, as you can see on his left arm.  I didn't drill into the arm, just glued the magnet right in top of the wrist.  After I started taking pics, I realized that his left sword arm doesn't need the magnet.  Just glue the left sword arm to the sword.  Or magnetize it for different poses, you don't have any other weapon to put in the left melee arm.


The other impotant thing on this photo is the small finishing nails i used for his hand.  You can see a full nail next to a nail that I have trimmed ready to insert into a drilled out wrist.  Use a nice, new, sharp micro drill bit, and drill by hand.  A dremel will destroy the hand in no time.  


Below you can see the wraithguard with a D scythe.  I just decided to put the head vanes and hip guards on with glue.  I like the look of them, and did't want to go crazy magnetizing every option.


Monday, December 19, 2011

Talos WIP part 2

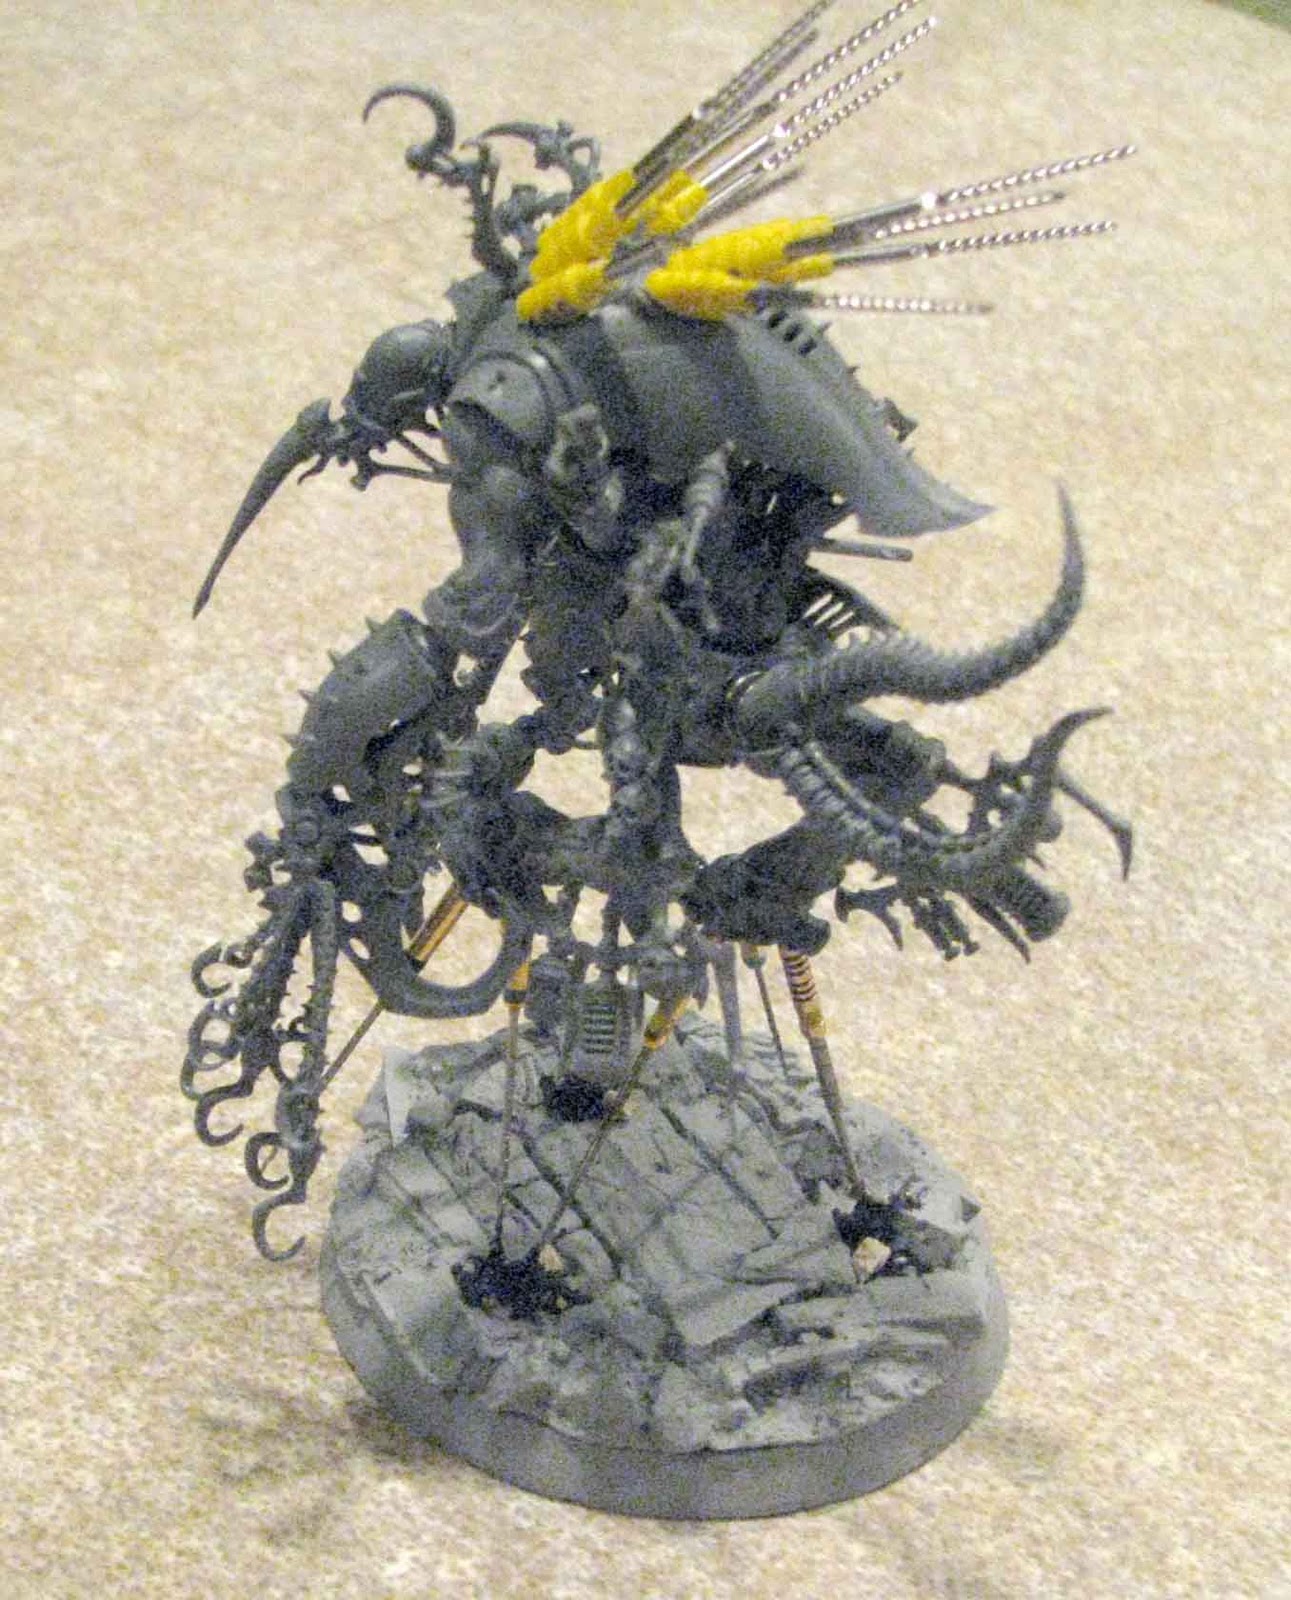
Here is my magnetized, assembled Talos.  The lighting isn't the best. I magnetized both arms with large magnets at the shoulders, and smaller magnets in the elbow.  The tail is magnetized, and so is the gun on the forearm.  I made the custom chain flails with the hook close combat weapon, 2 chains from a venom, and two chains from the raider sprue.  I think the hook weapon looks good with all the chains and hooks.  The gun mount came to me after I tried to mount it on the top of the carapace, on a tail tentacle, and a couple of other failure locations.  The arm looks pretty cool.  Just need to green stuff the hole on the top of the guns.
 You can see I mounted the talos top bony, injector thing on the underside of his legs.  Looks a lot like a spur on a fighting rooster.  May name him Foghorn Leghorn.


 Here are some changes I made to Brutus.  I gave him an extra tentacle arm, mounted the gun up high, and magnetized his arms a bit more. 
 I added a wrack close combat weapon on his left too.  Now to try a web way portal list.  2 Talos, reavers, scourges, big wyche squads, wracks, and probably some beasts.

Sunday, October 30, 2011

Magnetized Ork Nobz / Flash Gitz / Lootas


 Royce gave me some magnets for my birthday, and now I don't know what I ever did before magnets. I bought bits for 10 nobz minus the heads because I'm using ork pirate heads from MaxMini. My plan is to use the nobz for Flash gitz, regular nobs, or Lootas. I'm not a big fan of the regular lootas, but their weapons are cool. Now I just need finish off the last five and paint these suckers.
 Here is my magnetized Terminator.

Tuesday, July 19, 2011

How to magnetize a Dark Eldar Talos Chronos

Here is the second video I recorded a few weeks ago.  Love this model.

Monday, January 25, 2010

Magnetize your Trygon Part 2

magnetize your trygon part 1Next I flattened the end of the mandible-claws, and drilled a hole in the end for another nail head.  I made sure it fit well, then green stuff and superglued the nail in.  I did the same for the Trygon and Mawloc mandible-claws.


For the tail, I thought that pins would work best.  I put two brass rods in the main part of the tail.  The most important thing is to get the pins absolutely parallel.  I also marked the tail sections with a sharpy to ensure I put the drill bit in the right direction.  With only one pin, the tail tended to spin.  Two kept them secure.

I finally wanted to magnetize the chestplate with the adrenal gland.  I measured down a bit from the premade hole and prepared another hole for another 1/8" x 1/32"small magnet. 

Next I measured the same distance and put a nail head in each chestplate.
I glued the arms for the trygon on.  I was looking for a 'turning' look, but am not real pleased with the arms.  Maybe I will reposition them.

Here is the completed Mawloc.

Trygon Prime

and Trygon

Now to paint the beast.  After putting him together, he may be my favorite model ever.  If GW keeps putting out this quality, they will have me hooked for years more.  Admitting adiction is the first step to recovery.

Magnetize your Trygon

I got my pre-ordered Trygon and decided I wanted options.  So magnets were the answer.  I have seen some other great magnetized Trygons since I did this one.  I wanted to keep mine as simple as possible, and glue as many parts on as I can.  I really don't like moving a model across the board and having parts fall off.  I started magnetizing the head with a 6mm x1.5mm disc magnet.  It is easier to mount the magnet into the neck piece BEFORE gluing the neck piece in.  I drilled out the hole with a drill bit that matched my magnet size. 

Next I drilled out the mounting spots for the mandible claws.  I used a 1/8" x 1/32" disc magnet for this and drilled the holes with a 1/8" drill bit.

 
Then wedge some greenstuff in the center of the two holes to help hold the magnets and glue one on each side.


The picture above also shows how I insert the magnets.  I put them on the end of my drill bit and then press them into the green stuff.  Other methods end up with me inevitably on my hands and knees looking for a tiny little magnet in the carpet that has made a run for it.

Next I put one of the larger 6mm x 1.5mm disc magnets in the brain pan on top of a pile of greenstuff to hold on the different head armors.  At this point, try on all the three different head armors to make sure the magnet or green stuff isn't in the way of the top of the head seating down all the way.  I usually use superglue on top of the greenstuff and then mold the greenstuff around the edges of the magnet to make sure it stays in place.

Before putting the greenstuff in the head armor, try your nail head to make sure it is short enough for the armor to seat all the way down.  When you are happy with the length of your nail, Put the greenstuff in the top of the head and push the head armor onto the lower head. I used some super glue between the nail and greenstuff again, molded it a little, and then pushed the head armor in place again.


At this point I reallized that the lower mandibles snapped into place pretty well and wouldn't need a magnet.  Sure the prime has a different tongue, but I don't want to magnetize every piece.  The mawloc tonge juts into the space between your magnets for the mandible claws, and so you need to try in the mawloc jaw to ensure it will fit when the green stuff sets up. Something like this.

Stay tuned for the next steps to keeping your options open for your Trygon/Prime/Mawloc.

Tuesday, May 26, 2009

Wraithlord #2


Here is my second new style wraithlord. I always liked the kneeling rangers and Tau firewarriors. I thought a heavy weapon wraithlord would be great kneeling with the gun-grip hand. I cut the leg off just below the kneecap and pinned it. I have found that the pin vise works better than the dremel for pinning plastic figures. The plastic is so soft that it tends to melt with a dremel and give you a horribly large hole. The pin vise works great if you have a wire and drill bit that are very close to the same size.
I also put the back wings in a lower position as if they were articulated and he had them down for ballance.


I put both flamers on the left weapon mount, and glued down a few bits of metal sheeting down to hold the magnetic weapons in place. The hand has the nail heads from the earlier post. I also added the hip armor plates to the arm to make him look a little more armored.


Revenant titan part 4

I am attempting to make some custom pulsars for the big guy. I drilled out inside the sonic lance mount, and glued them inside. I then put the magnets on the end of the new pulsars with green stuff. The hard part was making sure that the pulsars were pointing the direction I want them to. So I positioned them and let it set overnight.


I may redo the pulsars though. They are not quite done. They are made from my son's old suction-dart arrows that he no longer plays with, and sections of pens. I am going to fix 'em up with some green stuff and see if that does it.

Monday, April 13, 2009

Magnetize your wraithlord


I put together my wraithlord a few months ago and thought I would only ever use the sword. After a few games, I decided that flexibility is always a plus. I already magnetized the weapon mount on the shoulder, and thought it would be great to have the option for two weapons. I took off the other shoulder mount months ago, and thought I would replace the sword hand with a gun hand. Luckily I pinned the sword hand on, and the super glue didn't work too well.
Next, I pulled out a nail we use to hang pictures in the house with a nice, broad head and cut the nail off to about 3-4 milimeters, drilled a hole in the hand, and glued it in. The magnet on my gun still seemed to spin around too much, so I put another head just in front of it. Looks like two heads are better than one.

Now I can mount whatever gun I want on this bad boy along with the shoulder mount. Now to paint him. (click on pics for a closeup view)

Contributors